How To Repot Orchids
How To Repot Orchids
My guy has given me three orchids over the past two years. They arrive fully in bloom and look beautiful. Best of all, they aren’t that hard to keep alive. Two ice cubes under their leaves once a week while they sit in indirect light and they’re good to go.
Which is good for me. My thumbs are more a mild black than green. Sort of a gun metal-verdigris. Some of the time, things grow. Some of the time, they don’t.
Case in point . . . We bought a fig tree and when I was planting it, I stepped on a branch. Perfectly good branch. Crunched. I brought it inside, cut it in three pieces at the maristem joints on the stem and stuck it in sandy soil in a pot by my sink.
They grew over the next three months. I had leaves and buds on all three. I transplanted them into a pot with other starter plants. They immediately died. Literally. Like the next day. Everything else was getting along famously. But the fig sticks? Every leaf fell off. End of free fig trees.
That’s what’s typical for me.
Therefore, to have orchids survive for me? It’s a miracle!
I had three plants and wanted to make one nice show piece. Here’s what I did:
I bought this bowl at Home Goods for $20. It’s a flat, nickle-looking metal. It blends with the hardware in my kitchen.

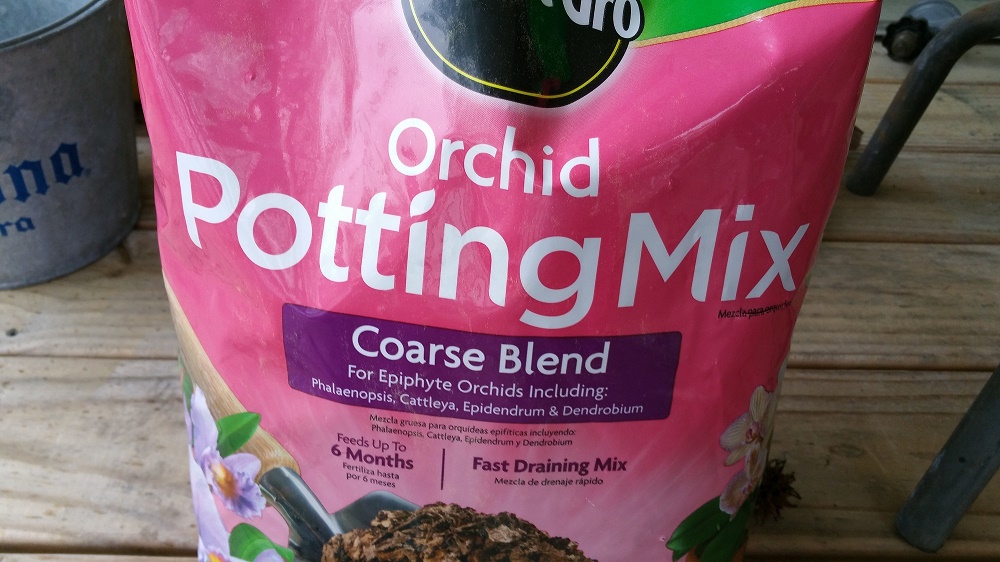
Next, I dropped in Home Depot. The sales guy had never heard of orchid potting soil or sheet moss. He wanted to sell me peat moss. No, no, no. I found it in their green house garden area. Both on the same shelf.
Most orchids don’t really sit in dirt. They attach to roots, rocks, or trees. Orchid potting soil looks kind of like chunky mulch.

And I bought sheet moss.

The bag said it covered 325 square inches. That sounded like plenty to me.

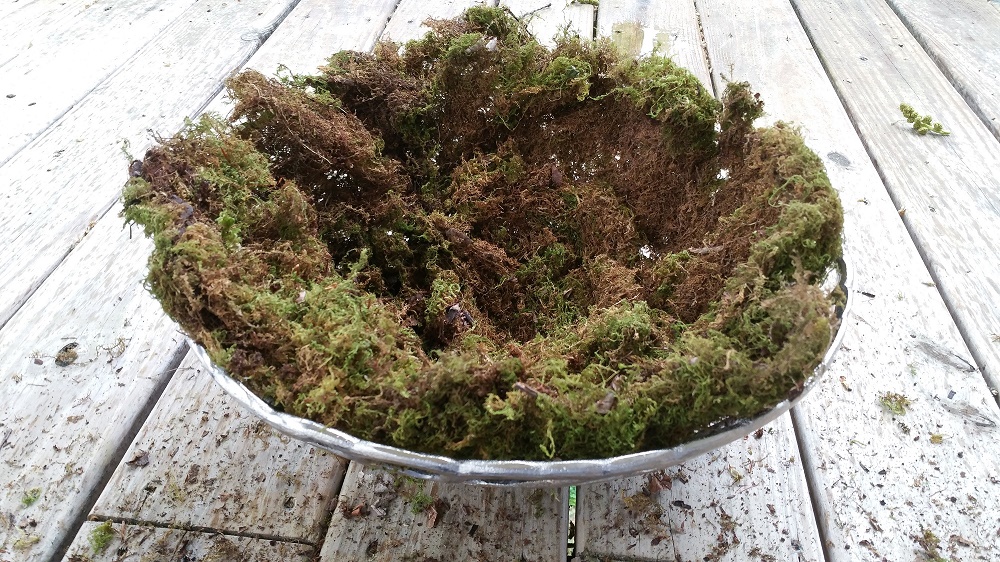
But, it’s really not a lot. I had just enough to line my bowl.

There are two sides to sheet moss. The pretty side–the grassy side–and the dirty side, where it grew in the ground. Be sure to put the dirty side so it will be next to your new potting soil. The bowl I bought was a little modern for me, but I liked the holes. I thought the sheet moss would give it a more organic look.
Next, I placed a layer of plastic on the sheet moss. This was to keep the potting soil in the bowl and not fall through the holes in the moss. It also helps keep moisture from wicking out so fast. I used Saran wrap, because it was handy and not white. You don’t want to see the plastic through the moss. A plastic trash bag would work, too.

I bought a small ivy for filler & variety. I put some regular potting soil in the middle for the ivy and the orchid potting soil for my three orchids around the edges.

I put the ivy in the middle and the orchids equally spaced around the sides.
Gently remove the orchids from their pots. Don’t pull apart their roots. I tried to disturb them as little as possible. Just nestle them in their new home and distribute more orchid potting soil around them. Ditto the ivy. I wove in a little Spanish moss between the plants to give it a more finished look.

This is how it looked just after I finished.

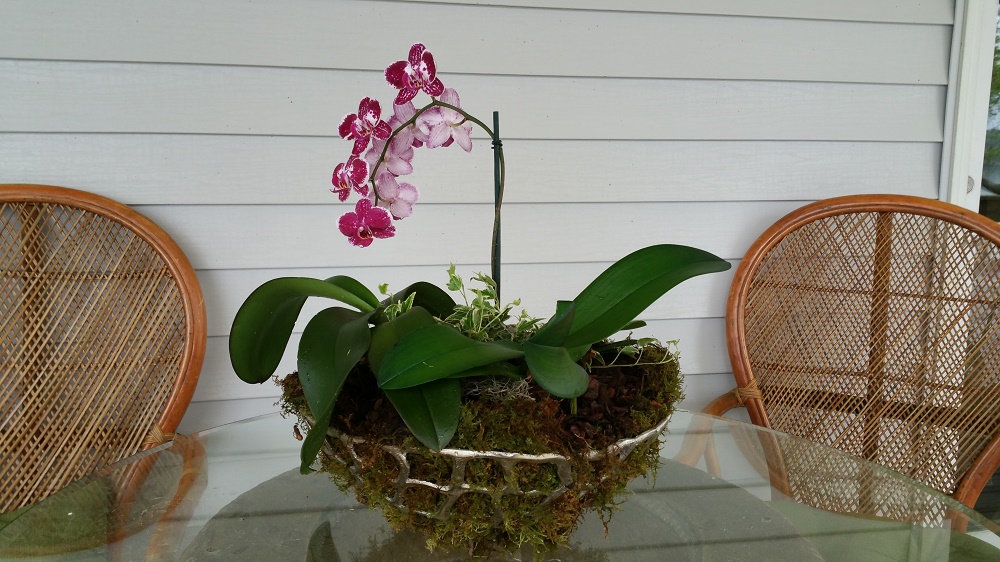
And this is how it looks two weeks later on our dining table. Maybe the verdigris part of my thumb is overtaking the gun metal parts.

That’s pretty much all I did. I add a couple of ice cubes per plant each week.
You could do this in a heart beat. If I can, I know you can and, unlike the firestarters, I will do this again.
Until next time. Be sweet.


Leave a Reply